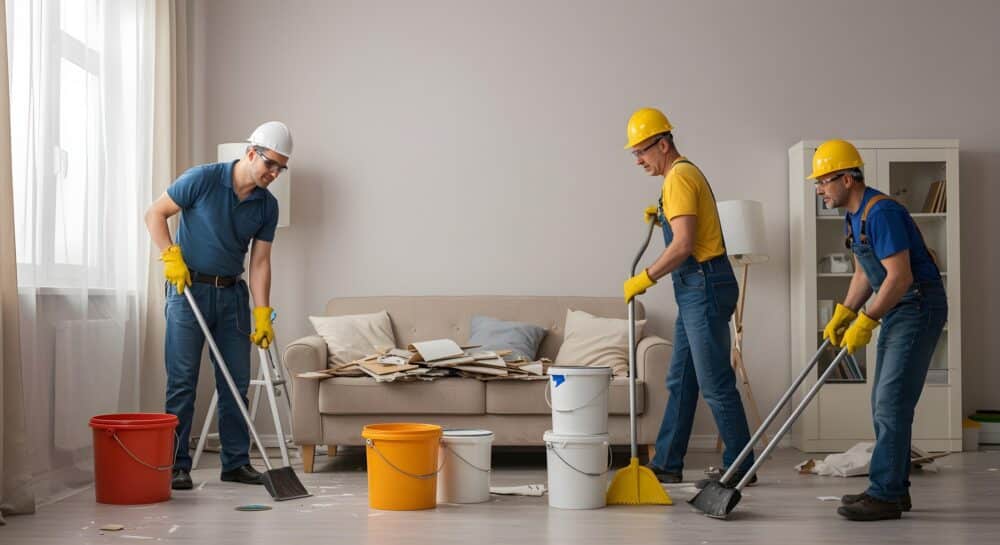
Home repairs and renovations can dramatically improve your space, but they often have a downside. That’s right, we’re talking about the clean up. Whether you’ve hired contractors to transform your living space, or rolled up your sleeves and done some good old-fashioned DIY, it’s inevitable that you will be left with some dirt, debris, and stubborn stains to deal with. From drywall dust to paint splatters, post-renovation cleanup can feel overwhelming if you don’t know where to start. This step-by-step guide will help you clean your home safely and efficiently after repairs or renovations, so you can enjoy the results without the mess.
Step 1: Gather the Right Cleaning Supplies
Before you begin, make sure you have the proper tools. Renovation dust is different from everyday dirt and requires more thorough cleaning.
Essential supplies include:
- Heavy-duty garbage bags
- Shop vacuum or vacuum with a HEPA filter
- Microfiber cloths and dusters
- Mop and bucket
- Glass cleaner
- Disposable gloves and a dust mask
Last but by no means least, having a high quality degreaser is a must. El Milagrito Multi-Purpose Degreaser is a versatile cleaning product you can depend on. You would be surprised how many stubborn stains can arise after you’ve had repairs or renovations carried out, many of which you may not have encountered before. With El Milagrito by your side, you can rest assured that you’re well equipped to deal with any cleaning dilemma.
Step 2: Remove Large Debris First
Start by clearing out leftover materials such as:
- Wood scraps
- Nails or screws
- Cardboard and packaging
- Drop cloths and plastic sheeting
Next, you’ll need to dispose of debris properly and check local guidelines for construction waste if needed. Removing large items first paves the way for a more detailed cleanup.
Step 3: Dust from Top to Bottom
Renovation dust settles everywhere—especially on high surfaces you might not usually clean.
Focus on:
- Ceilings and corners
- Light fixtures and ceiling fans
- Shelves and cabinets
- Door frames and baseboards
Always clean from top to bottom so dust doesn’t fall onto already-cleaned areas. Use microfiber cloths or damp dusters to trap dust instead of spreading it.
Step 4: Vacuum Thoroughly (More Than Once)
Drywall dust and fine particles can linger long after repairs are finished. Even as you remove items to clear space, you may well be adding to the dust on the surfaces of your home, that’s why a thorough vacuum is what’s called for. Here’s what you do:
- Use a vacuum with a HEPA filter to capture fine dust
- Vacuum carpets slowly and in multiple directions
- Don’t forget rugs, upholstery, and mattresses
- Vacuum hard floors before mopping
Monitor the dust over the days to come and run the vacuum again if necessary.
Step 5: Clean Walls, Doors, and Trim
Walls and trim often collect invisible dust and smudges during renovations. These may not be apparent at first, but it’s best to keep an eye out for them so that you don’t have to come back to them later.
How to clean them:
- Use a damp microfiber cloth or sponge
- Add a small amount of mild detergent if needed
- Spot-clean paint splatters carefully with a plastic scraper
- Test any cleaner on a small, hidden area first to avoid damaging paint or finishes.
Step 6: Deep Clean Floors
Once dust is removed, it’s time to deep clean your floors. Depending on the surface of your floors, you will need to take the following points into consideration:
- Hard floors: Mop with warm water and a gentle cleaner
- Tile: Pay extra attention to grout lines
- Carpet: Consider steam cleaning for heavy renovation dust
Important: Avoid wet-mopping before vacuuming, as moisture can turn fine dust into stubborn residue and leave you with extra work on your hands.
Step 7: Clean Air Vents and Replace Filters
Renovation dust can circulate through your ventilation system. It’s important to tackle this before the dust settles into the system. Here’s how to clean them:
- Wipe down air vents and returns
- Replace HVAC filters immediately after renovations
- Consider running an air purifier for a few days
These simple measures will improve air quality and prevent dust from resettling on clean surfaces.
Step 8: Finish with Windows and Glass
Last but not least, clean windows, mirrors, and glass surfaces last. These surfaces will have borne the brunt of your dust and dirt arising from the cleanup itself.
- Remove dust with a dry cloth first
- Follow with a streak-free glass cleaner
- Don’t forget window sills and tracks
This final step makes your space look polished and truly finished.
Safety Tips for Post-Renovation Cleaning
Not only is safety paramount while carrying out repairs and renovations, but it’s also important during the cleanup. Here are some important precautions you will need to take:
- Wear gloves and a dust mask, especially when dealing with fine particles
- Avoid mixing cleaning chemicals
- Ventilate the area by opening windows when possible
- Watch for sharp objects like nails or broken materials
Home-Cleaning Made Easy
Keeping a home bright and sparkling clean greatly enhances your ability to relax and enjoy your living space. Sure, sometimes deep cleans can be daunting, but with El Milagrito by your side, there is no problem that’s too tough to tackle. For more cleaning guides and household tips, make sure to check out our blog.